Before I dive into this article, I want to start with a simple thank you to everyone who has reached out to me over this past week. As many of you know, I live about 15 minutes due north of Panama City Beach. Hurricane Michael hit this past week and I can promise you that what you see on television and in pictures doesn’t even compare to the actual thing. We were extremely fortunate that our house remained intact. With entire towns being wiped out, places that I grew up in, you can’t take anything for granted. The most important thing is that our family and friends are okay. The support we have received from those in the archery community has been overwhelming, with many opening their homes to us if need be. We are truly blessed to be able to be a part of a community like this and have made the friends we have.
When it comes to tuning a bow, there are thousands (maybe that is an exaggeration) of ways to tune a bow. There are so many things and out there about what is the right way to do it. Personally I like to keep it as simple as I can. The simpler something is the better in my opinion. That’s what makes me so awesome (I have to put one bad joke in each article). I’m going to do my best to explain my tuning process and some extra little tidbits. The hardest thing will be for me to avoid eating all of my crayons before I finish writing the article.
My tuning process always starts with arrows. Arrow selection is the fundamental element in tuning every single bow out there. Picking a good arrow is the first step. I have a few arrows that are my go to depending on the situation. I may experiment a little, but I always go back to a Black Eagle PS23 for #D and a Rampage for hunting. These are the arrows I am comfortable with and feel I get the most consistency with. Obviously everyone has their own choices for arrows, so I suggest going with what you have the most confidence in. Once I find something I like, I don’t really deviate from it.
Once I have found my arrow, I start with the setup. The first thing I do is I will cut from each end of the arrow. Typically I will cut a half inch off the back of the arrow and then the rest of what I need to cut off the front to get it to the length that I want. When the arrows are cut, I mark the ends of the arrows with a silver sharpie and use the G5 arrow squaring tool to square my arrows.
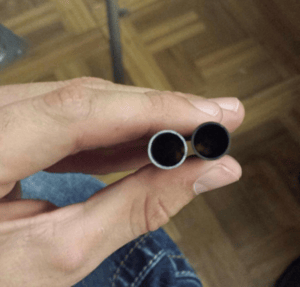
The next step that I take is to grab my handy dandy
arrow spinner. Like the name implies, an arrow spinner is a magical tool that I use to spin my arrows. When I do this, I look and see if the ends of the arrows have wobble in the ends. Once I have found at least 12 really good arrows, I put on the nock bushings. The G5 tool also has an option that I use to square my bushings. Now comes the points. I put the points in with hot glue and spin the arrows again. Occasionally the point has a bit of wobble in it, try rotating the point 90 degrees. There will be a sweet spot to where the arrow spins really well with the point.
Now is the point where you finally get to shoot. I will take one of the bare shafts and tune it through paper. For vertical tears, move your rest in the direction of the nock, and for horizontal you will move the rest in the direction of the point as it tears through paper.
Paper can tell you a lot about the arrow. For example, if it has a right tear, that could be an indication that your arrow is too weak. Try cutting a little bit of length off of the arrow and see how that does. Shortening an arrow will stiffen it up. When you were a kid and you would break a twig in half. As you break the stick it gets shorter and shorter, and eventually is too stout to break again. It’s the same concept with shortening the arrow. If this doesn’t work, you may need a stiffer arrow. Just think in reverse for a left tear.
If your some reason you are still having issues with a left or right tear after playing with the arrows, it is time to get a little more in depth for the bow itself. I will keep with the scenario of a right tear. Just pretend it is opposite day if you are having issues with a left tear. Also remember that the following information is related to that of a right handed shooter when it comes to the cable guard or roller like you see on some of the new hunting and target bows.
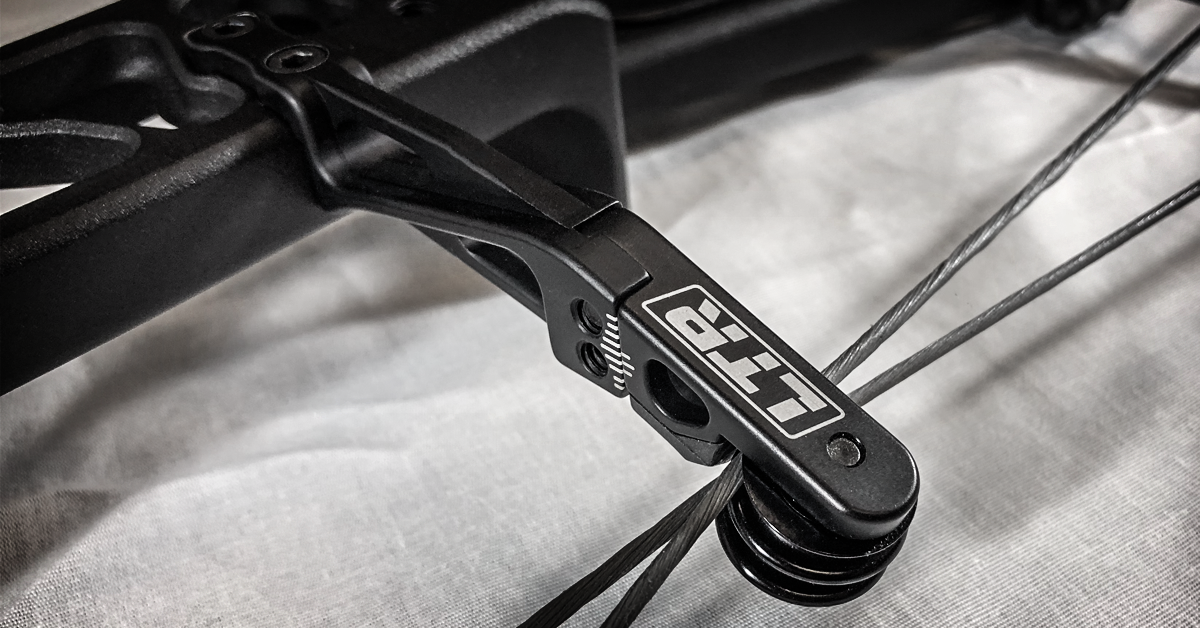
So for the right tear, the first thing I would play with would be to look at the cable slide/roller. What we need to do is try to keep the cams a little more upright at full draw. What this will do is move the center shot a little further to the inside and mitigates some, if not all of the right tear. To do this, move the cable guard out, or slide the roller to the right. This will create a little more lateral tension on the cables and pull the cams into a more erect position.
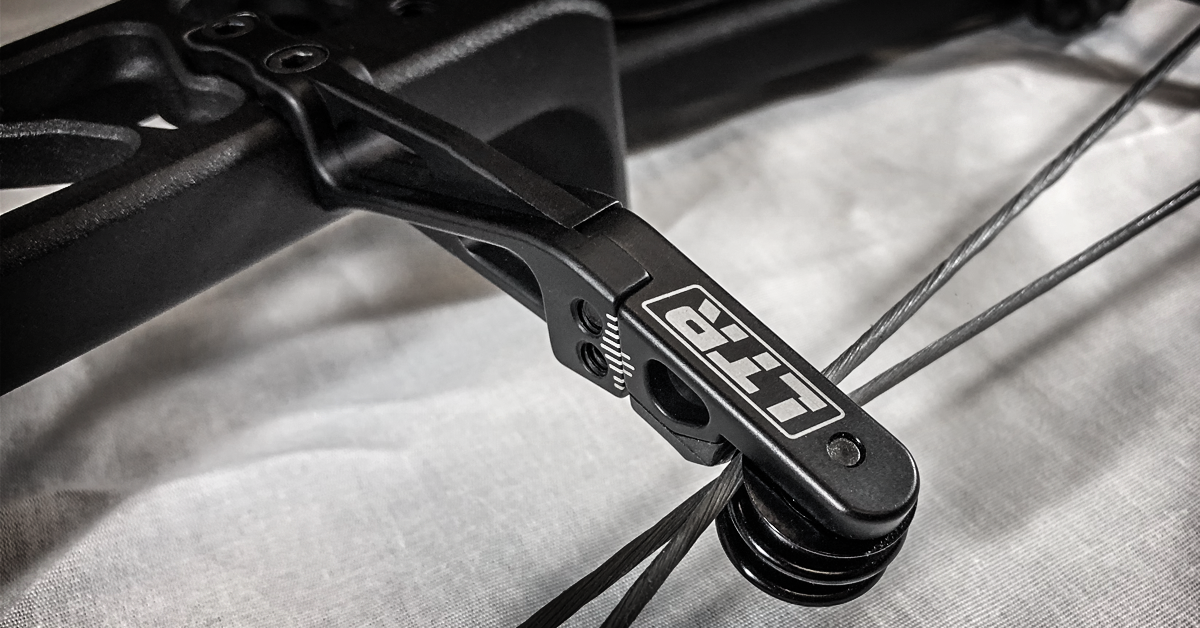
If the problem continues, the next step is to play with the spacers between the cams and the limbs along the axle. Try moving the cam to the right. Let’s say there are two spacers on the left of the cam and two on the right. Slide the axle out and move one of the spacers on the right to the left so that you have three spacers on the left and one on the right. Normally the spacers vary in thickness; you have some options with the configuration. Always have a spacer between the cams and the limbs by the way. You don’t want the cam rubbing on the limb.
If all else fails and you have a bow with split limbs, you can play with the orientation of the limbs. You can take the limbs off the bow and look at the limb deflection numbers. Take the limbs that are stiffer (the limbs with the higher deflection number) and move them to the left side and the two limbs with lower numbers and put them on the right side. This almost always eliminates the right tear.
Once that is done, we are getting into the home stretch. Fletch an arrow and take an unfletched arrow and go to 20 yards. Shoot both of the arrows and play with the rest to fine tune the bow. For left and right adjustment, move the rest in the direction of the unfletched arrow, and for vertical adjustments follow the fletched arrow. After the last step is done just fletch your arrows and get to shooting. If for some reason a certain arrow is hitting a bit off, just try rotating the nock so that a different vane is your signal vane (for example the vane that always points up).
That’s essentially the process that I go through to tune a bow. Sometimes a bow may fall right into line, and sometimes it may take a bit of work. At times a setup can be kind of a pain, but it is always worth it when you get it to fall right into place. Having a bow that is tuned will lead to much better arrow flight an consistency, which in turn means more success in the woods and on the tournament trail.




.png)
