
Pro staffer Tyler Marlow is back this week with another great Shooting Better with Tyler installment. This week, he's focusing on dialing in your anchor points and sight picture.
***
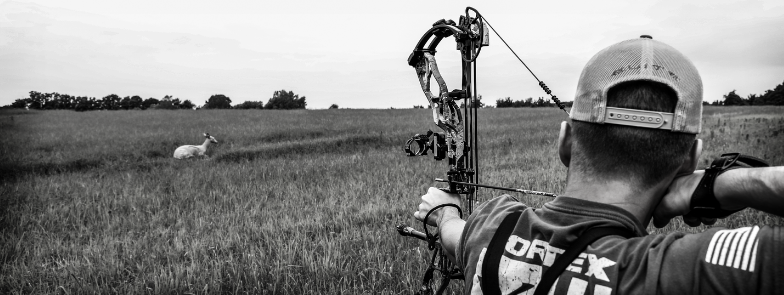
Whether you are shooting with the tournament on the line, or drawn back on a monster 60” eight point in Florida (I had to brag about our deer here in Florida), there are a few things that you should do to make sure that you #sendit and hit your spot. Two of those things are a consistent sight picture and anchor. If I am going to be honest with you, it doesn’t matter how bad your form is, if you can do the same thing consistently over and over again, then you will hit the middle. The key to archery is consistency. It’s simple.
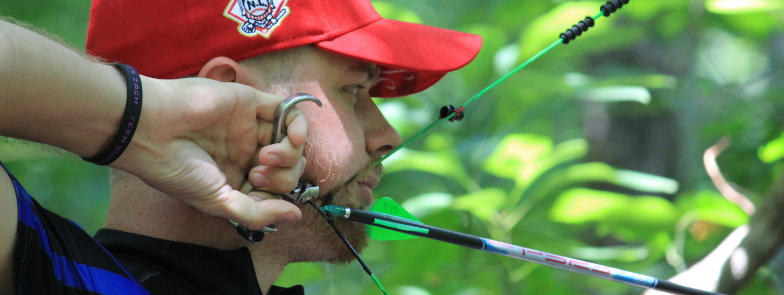
Let’s start with your anchor point. An anchor point is exactly what it sounds like. I define the anchor points as the places on the back end of the shot where your hand and the bow string make contact with your face. These points may be slightly different from person to person, of course. For my release hand, my index and middle finger knuckles straddle my jaw bone. This is the point that I can reach comfortably in my setup and is very repeatable. I shoot a handheld release, so someone shooting a wrist release will have a very different hand angle, so the shooter may, for example, anchor their index knuckle in the “divot” right behind the earlobe. Just make sure that whatever your anchor, make sure that you keep a consistent hand angle. If the angle fluctuates, then you will get inconsistencies in your shot since you aren’t putting the same torque on the d-loop or string from shot to shot.

More important than the hand position, in my opinion, is how you use the actual bowstring in your anchor. To start with, I like to find a comfortable draw length. This can change a bit for me depending on the string angle of the bow. On a shorter axle to axle bow I will tend to lean towards a smidge longer draw than I do on a tournament bow so that I can avoid craning my neck forward, which just adds tense muscles into the shot. I like to limit the amount of muscles active in my shot to avoid over complicating things.
There are two things that I try to make completely sure of when anchoring with the string: the tip of my nose is consistent on the string and I’m avoiding excessive facial contact with the string. I try to make it so that the string comes in as little contact with my face as I can manage. The more facial pressure that I have on the string at full draw, the more chances there are that opens up for inconstancies. The tip of the nose on the string is huge for consistency dealing with left and rights.
Having the tip of your nose on the string helps avoid floating in your sight picture. Just make sure that you aren’t pressing your nose too hard on the string. You want to make contact just enough so that you know it is there in the correct spot. Having the proper peep height is imperative for this. If it is too high, your nose will float off the string, and too low will lead to the string “smushing” your nose in. A simple way to find the right spot for the peep height is to draw back an anchor with your eyes closed. From there, you open your eyes and adjust the peep height until it is in the right position when you have a comfortable anchor.
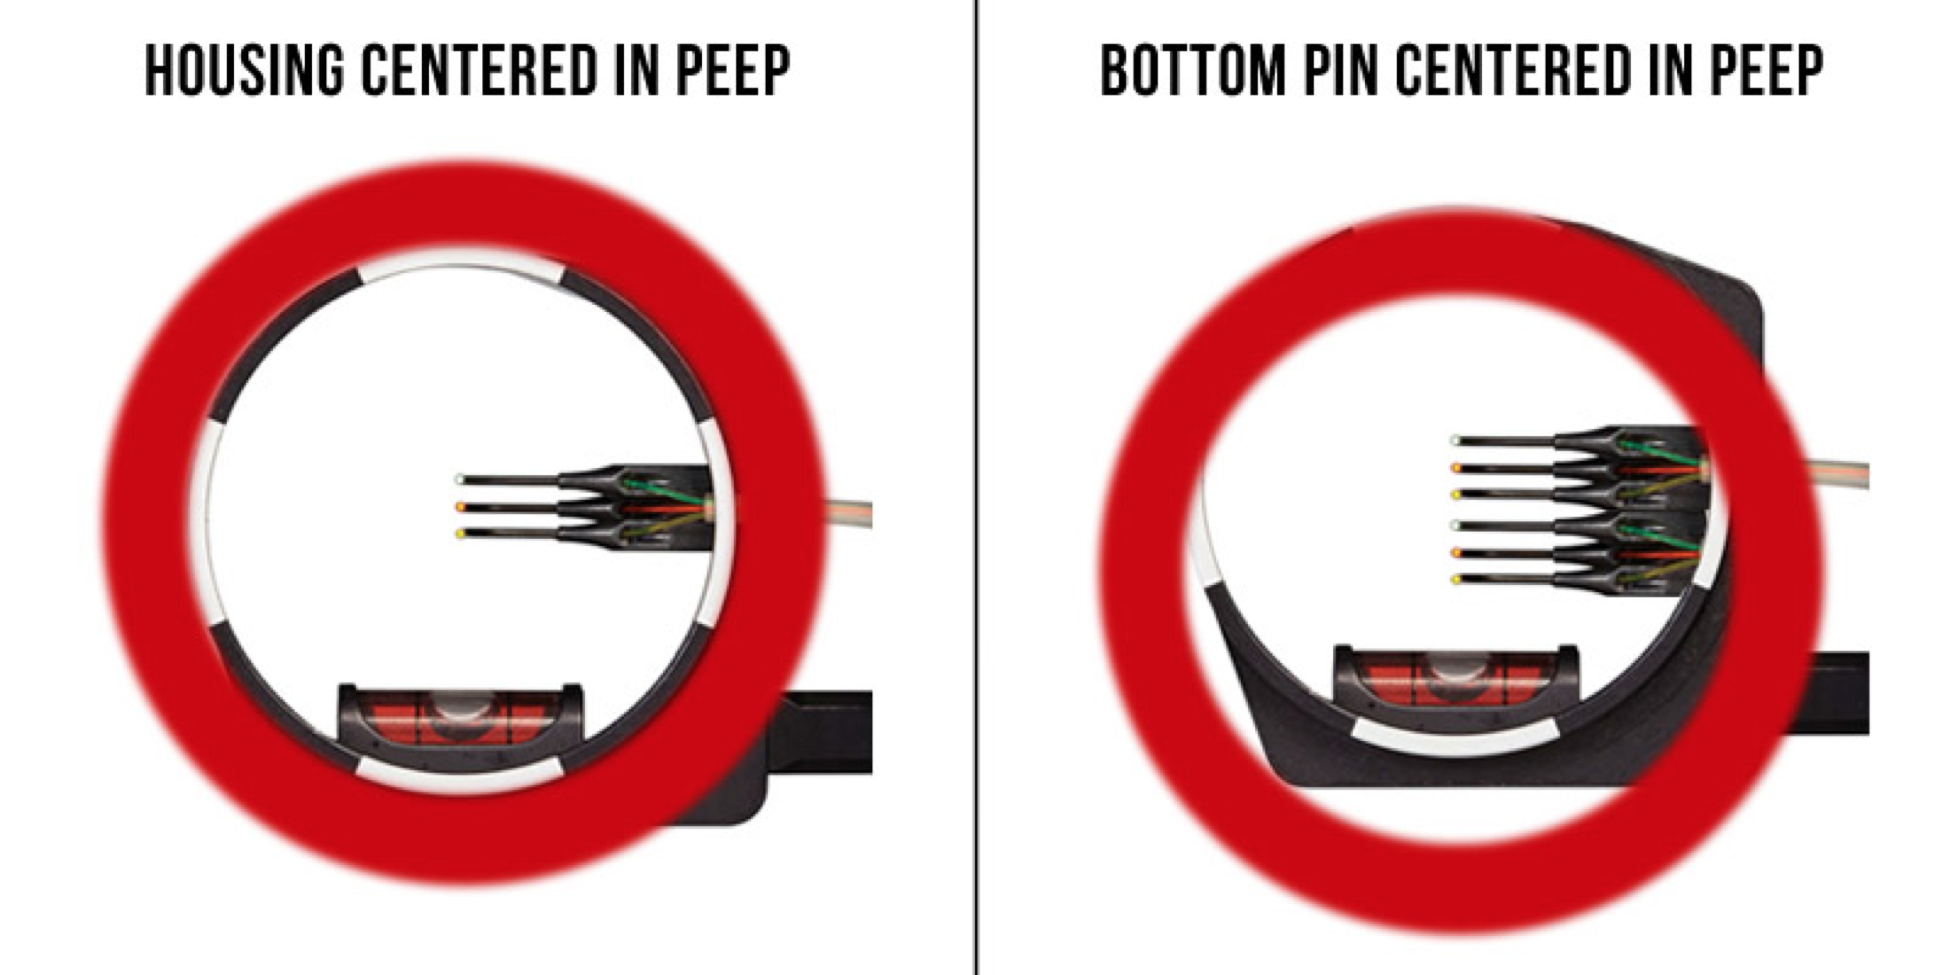
I mentioned the phrase “sight picture” a little earlier. A lot of times we hear about this, but most people don’t understand it. Sight picture is how your sight looks through your peep sight. The goal is to keep the housing of your sight lined up with the hole of the peep. Basically you are lining the hole of the peep with the circle of your housing. Beginners, usually starting with multi-pin sights, try to center the pin into the center of the peep, whereas they should be centering the peep with the scope itself. With a single pin movable sight, such as the sights like the CBE Vertex, things are a little different. For an adjustable single pin sight, you will want to set your peep sight at the average distance you will be shooting. The reason for this is that as you adjust your sight up and down, there will be slight movements in your anchor. For example, if you are shooting out to 80 yards, you don’t want your peep set at 20 yards. When the shot at 80 presents itself, you will have a hard time staying centered in your peep because the peep will seem like it is super high. A better option would be to set the peep height at 50 yards so that you aren’t getting so out of position when the distance of the shots varies from 20 to 80 yards. Below is a photo example I found on soleadventure.com to help better show a proper sight picture.
To summarize, having the proper form is less important than having a consistent shot. Before heading into the woods this season, or when you set up your next rig, take the time to get the little details correct. Here are some other related blogs from Elite Archery to get you set up for success:


.png)
